In response to a public health crisis—increased rates of cardiac arrest due to an increase of heart disease in America—the U.S. Department of Health and Human Services (HHS) began a push to make public access to Automated External Defibrillators (AEDs) back in 2001. Several years later, by making this tool available and educating the public on its use, cardiac arrest survivability has drastically increased.
A similar push is now making the rounds championed by the American College of Surgeons. It’s called “Stop the Bleed!” and aims to educate people on how to use (and make) tourniquets.
How to Stop the Bleed
The National Center for Injury Prevention and Control states traumatic injuries are the leading cause of death for people ages 1-44 in the U.S. As mentioned in a previous article, Home First-Aid Kit Essentials, it takes a single drop of blood roughly 60 seconds to circulate through the entire body and end back up where it started. This means that if a significantly large artery (our body’s pressurized blood highway) is severed through some kind of trauma, then a human can bleed to death in a matter of minutes.
Although we’re all taught about placing direct pressure on a heavily bleeding wound, when an artery is involved, stopping the bleed quickly requires a bit more. This is where the tourniquet comes in.
While tourniquet use was first documented by a surgeon using it to keep his operating area free of blood, it garnered fame through its widespread use in the military. Even dating back to the Civil War, the tourniquet has been used to quickly control severe bleeding, buying time until a surgeon was available to examine and repair a vascular (involving the blood circulatory system) injury.
There’s long-been misinformation surrounding the tourniquet and its use, primarily a fear that by “cutting off circulation” to an entire limb for the sake of a cut, that you are liable to kill healthy tissue and eventually cause the loss of the entire limb. This is untrue. Tourniquets can routinely be left applied to a limb for two to three hours without any permanent tissue or nerve damage.
When to Use a Tourniquet
Because it is a time-sensitive procedure and it’s very uncomfortable for the victim, tourniquet use is generally reserved for life-threatening bleeding. It’s important to first remove or cut the clothing around a suspected injury site so you can properly visualize the extent of the injury itself, then you will be able to see what kind of bleed you are dealing with and how to properly control it. In identifying “life-threatening” bleeding, some things we’d want to look for include:
- Blood that is spurting or spraying out of the wound.
- Blood that won’t stop flowing out of the wound.
- Blood that is pooling on the ground.
- Bandages that are soaked with blood.
- Loss of all or part of an arm or leg.
- Bleeding in a victim who is now confused or unconscious.
Ultimately, the easiest indicator for use of a tourniquet is bleeding that isn’t slowed or controlled with direct pressure. Sometimes the line between life-threatening bleeding and not is hard to tell. In the absence of the above factors, you can consider direct-pressure over the wound site with a large absorbent dressing, such as a trauma pad or abdominal pad and watch for blood rapidly seeping through or bleeding that isn’t significantly slowed or stopped in a few minutes.
How to Use a Tourniquet
Firstly, we’ll go over how to use a commercially available tourniquet (in this example, we’re using a C-A-T “Combat Application Tourniquet”, which is a common, trusted brand). Commercial tourniquets such as the C-A-T are easy to use and very quick to deploy. I personally keep one in my car, my hiking day pack, my SCUBA vest, and of course in my home first-aid kit.
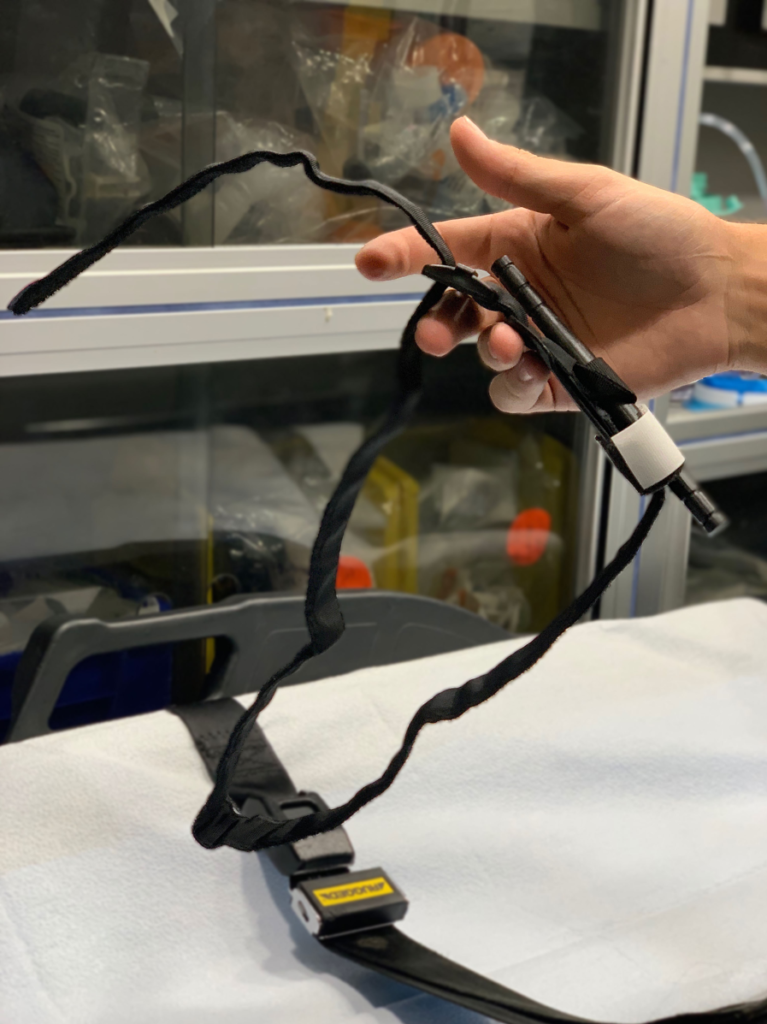
The C-A-T and similar commercially available tourniquets will traditionally come packaged as shown below, with their Velcro tails affixed to themselves and the windlass (large plastic winding rod) secured in its housing.
The C-A-T will typically have its strap pre-fed through the buckle so it can be quickly slid over an injured extremity and pulled tight. However if the extremity has limited mobility or access, due to entrapment, then the strap can easily be undone and fed back through the buckle to facilitate application.
Placement of the tourniquet should be two to three inches above the injury (the “X” in the picture below is my “injury”) and not on top of a joint. This is because the tourniquet must compress soft-tissue in order to compress the deep arteries underneath it, and being on top of a joint prevents even tissue compression. If two to three inches above the injury places you over a joint, don’t be afraid to go a little higher to ensure you’re away from the joint and over an area of soft tissue.
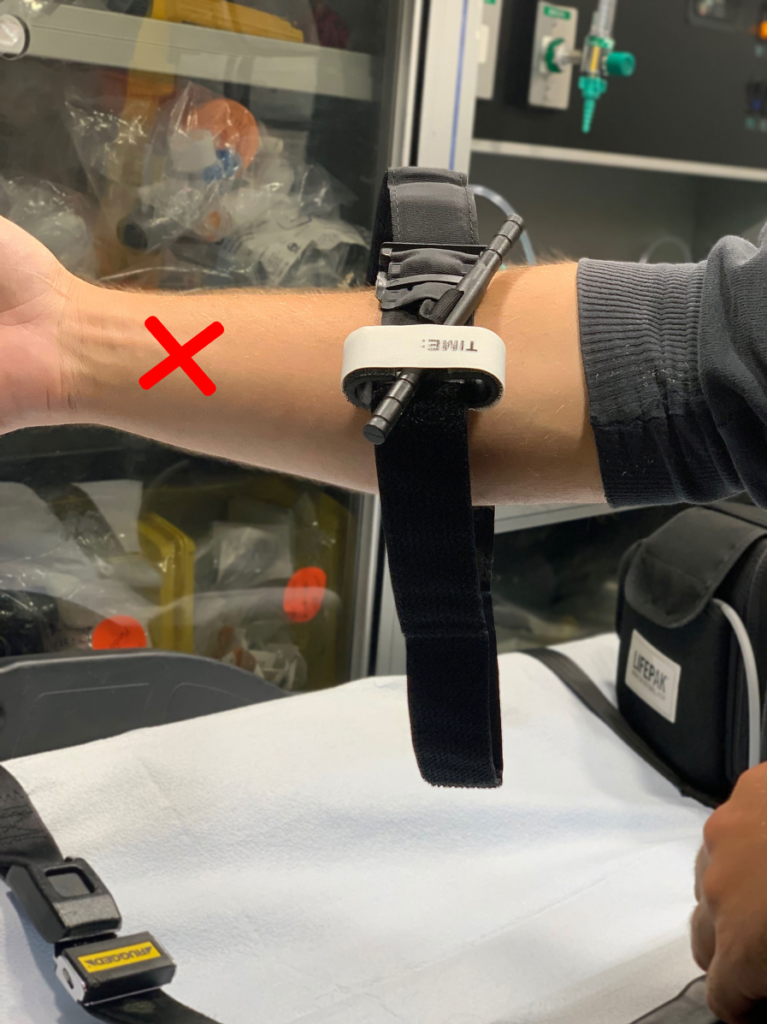
With your tourniquet in position, pull the loose end of the strap through the buckle until the tourniquet is wrapped firmly around the injured extremity, then secure the Velcro strap flat against itself.
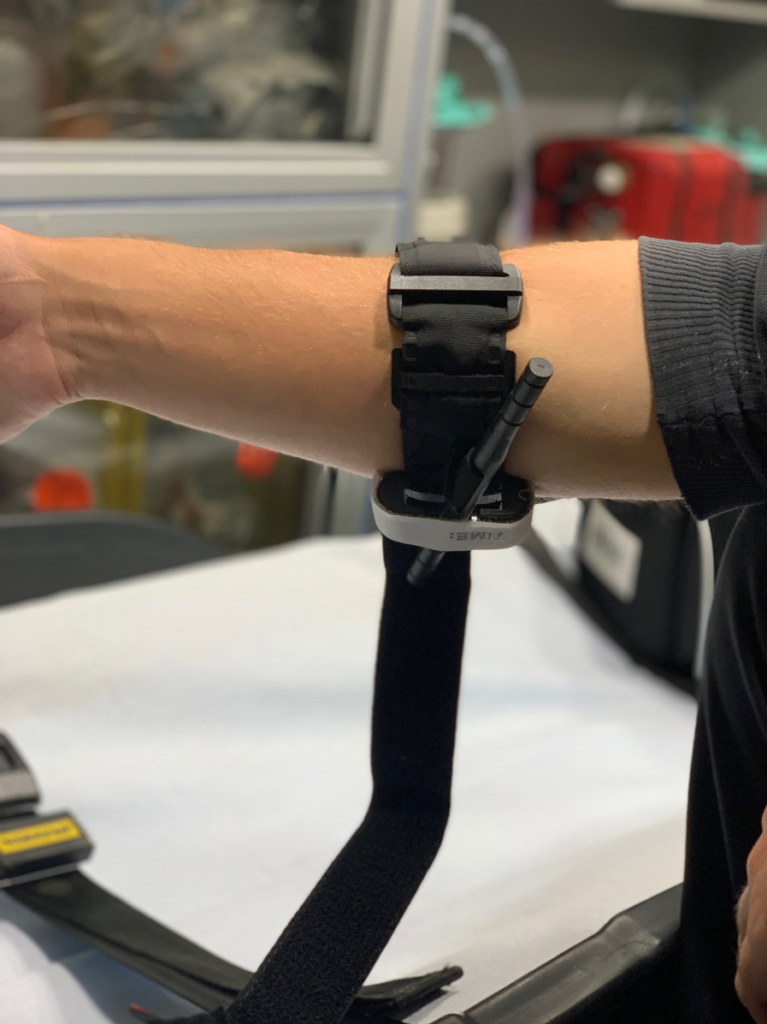
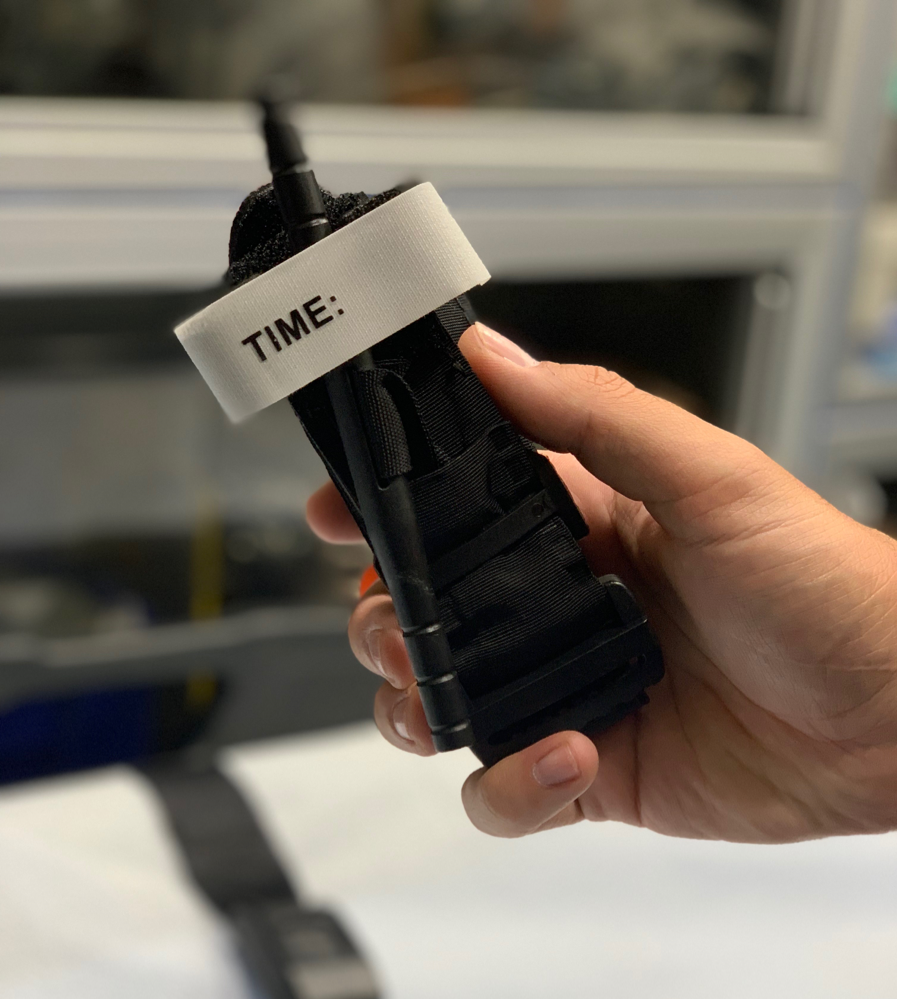
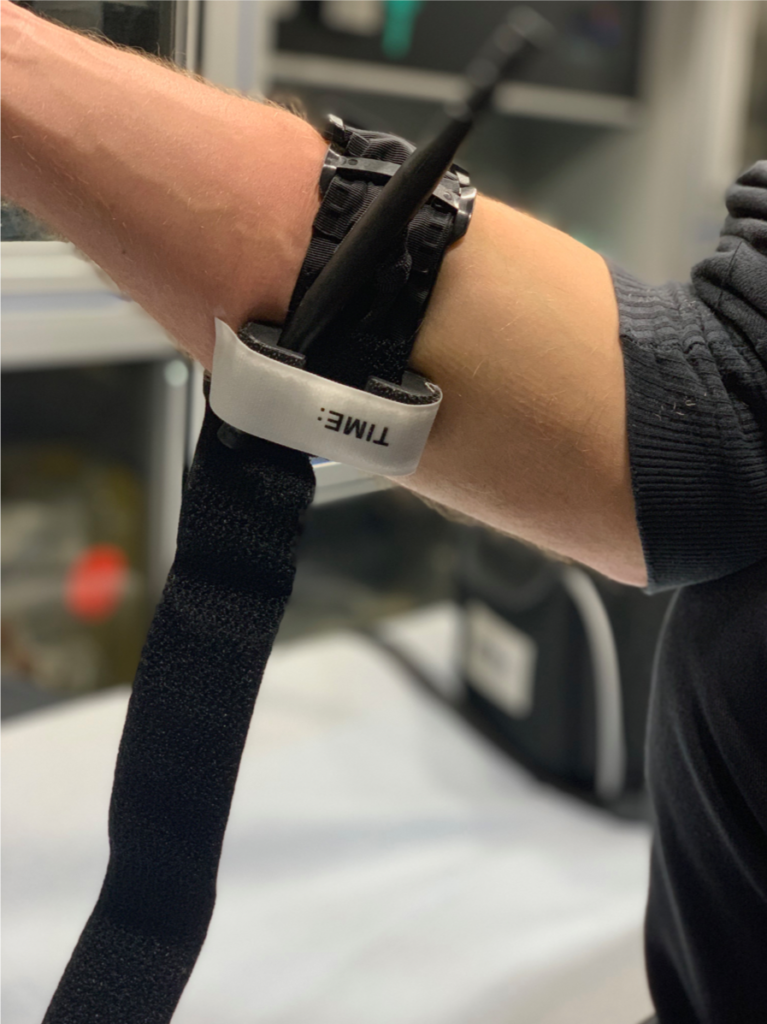
Next, pull back the white Velcro “TIME” tab and free the windlass. Begin twisting it (clockwise or counter-clockwise, it doesn’t matter) and the tourniquet will begin to tighten. It can take significant force to tighten a tourniquet properly and will often be quite uncomfortable for the victim. Don’t be discouraged by this. It’s important to continue tightening until the blood stops flowing from the wound.
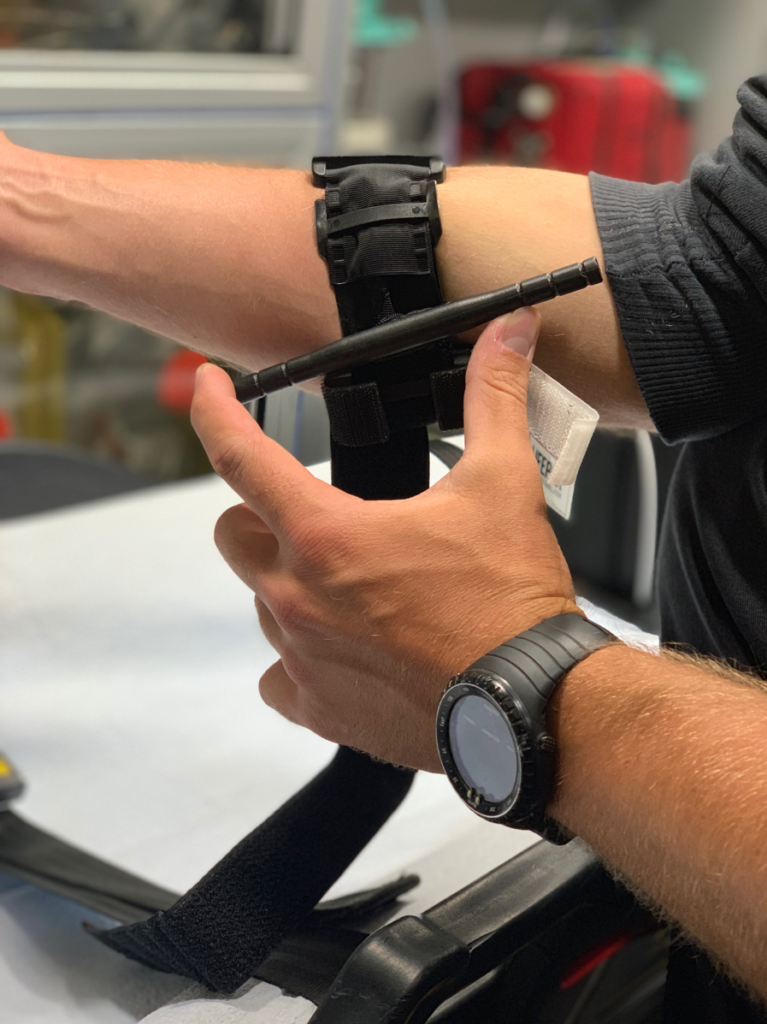
Once you’ve tightened the tourniquet to the point where blood is no longer flowing from the injury site, then you must secure the windlass in place to prevent the tourniquet from unwinding itself. To do this, simply tuck one end of the plastic windlass into the plastic “catch” hooks as seen here.
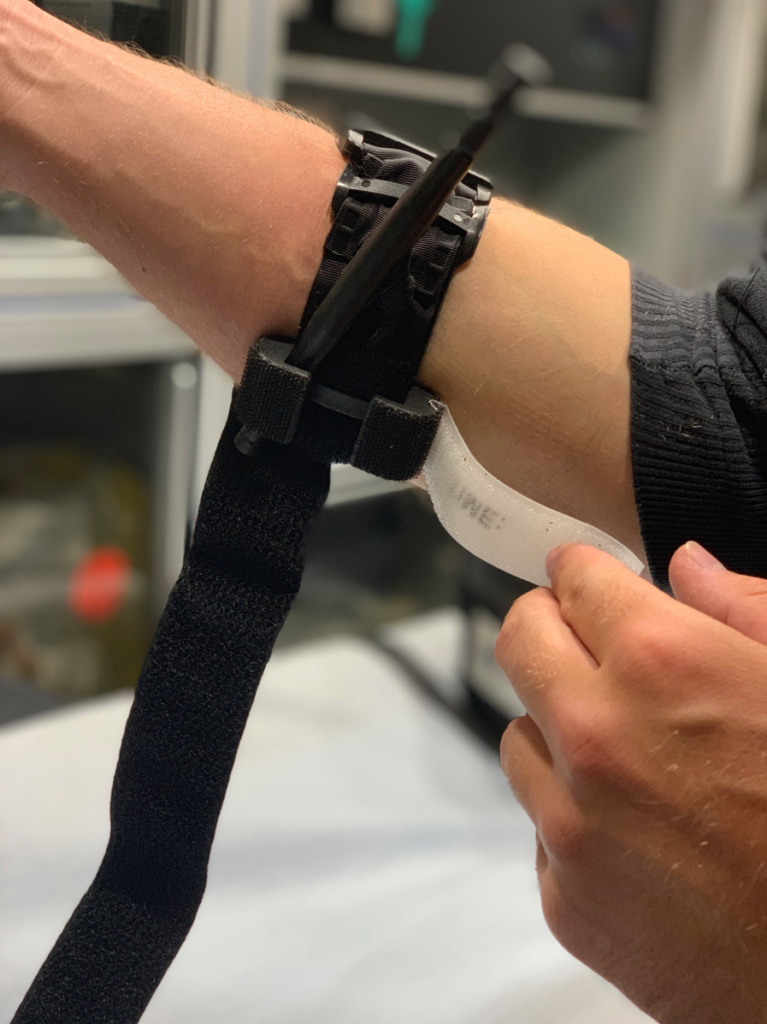
Then, place the Velcro “TIME” tab over the windlass retention hooks and press down to ensure the windlass cannot dislodge. Once a tourniquet is applied, it’s very important to not let it loosen, otherwise a delicate blood clot that’s forming inside an injury can be blown out under pressure and can start bleeding again.
Write the time of application on the white “TIME” tab, so emergency responders and the hospital staff will know how much time has elapsed since tourniquet application.
How to Make a Tourniquet
While commercial tourniquets are the fastest and easiest to apply, some people might not have access to one in their home first-aid kit. Luckily, a makeshift tourniquet can be fashioned from common items found in most first-aid kits.
Required Items include:
- Triangle Bandage (x1)
- Trauma Shears (x1)
- Standard 1-2” Roller Gauze (x1)
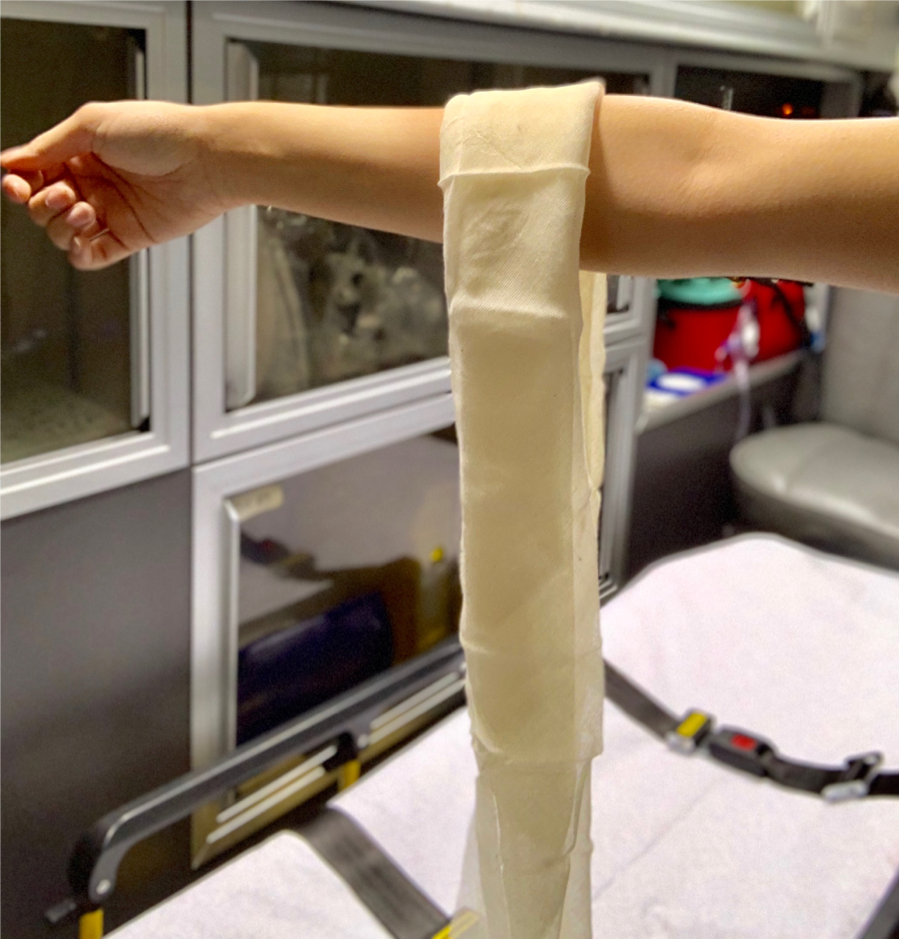
Firstly, remove the triangle bandage from its package and fold it like a bandana, creating a strip of fabric approximately 2 inches wide. We want tourniquets to be at least two inches wide to compress a large area of tissue, distributing the force over a greater area to reduce injury to the underlying tissue.
Again, place the bandage two to three inches above the injury site, avoiding joints, with the tails of the triangle bandage hanging down.
Wrap the tails around the extremity, crossing underneath and meeting back on top where you will tie the two ends together with a simple knot.
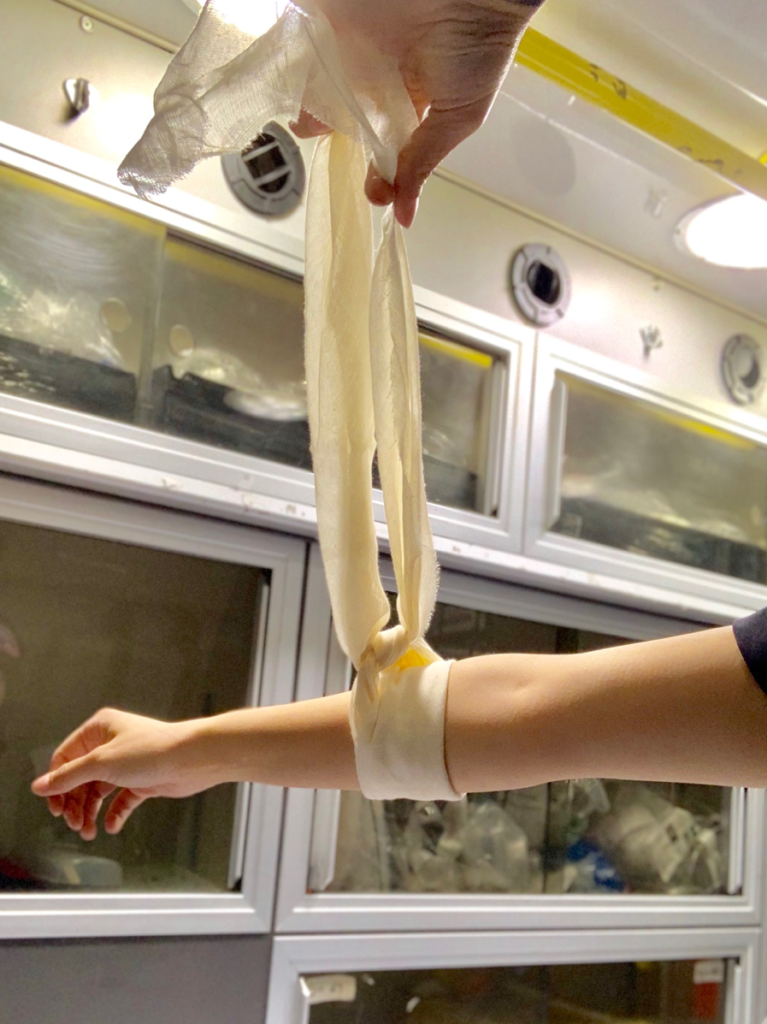
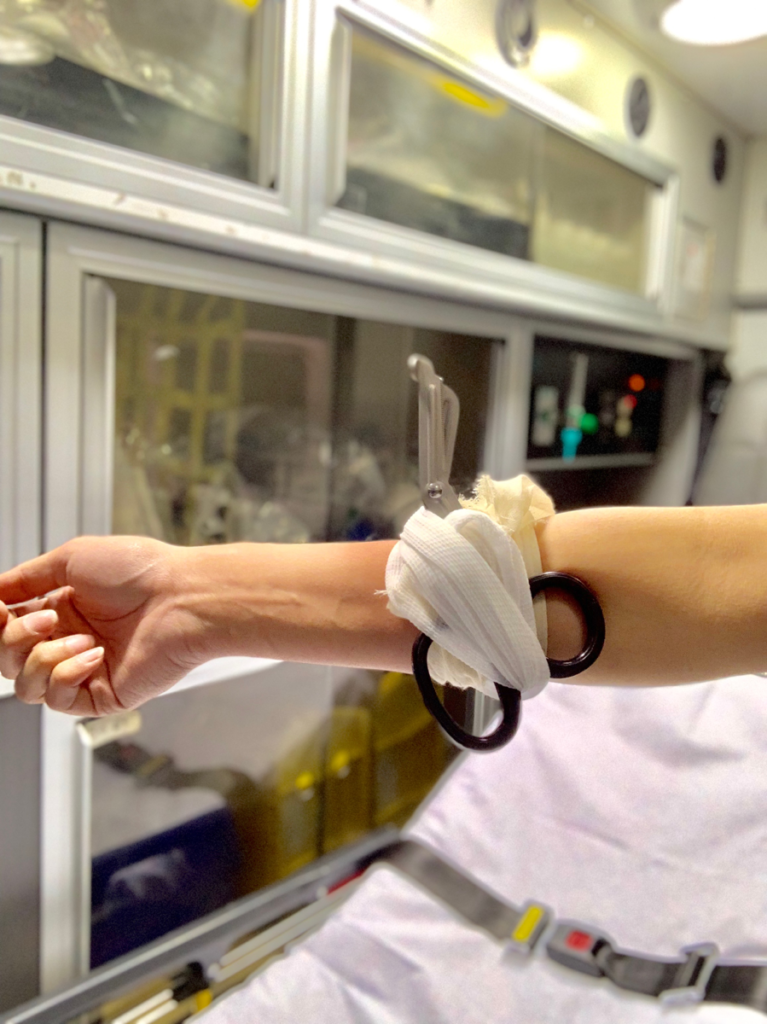
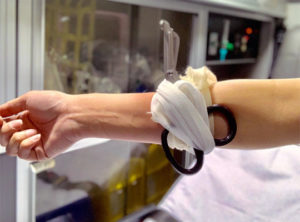
Now place your trauma shears directly over the knot. This will be your windlass. Some people recommend using pens as a windlass, however I prefer trauma shears because they are metal and will not bend or break under extreme twisting force.
Next, tie another simple knot over the shears, securing them in place to the bandage. Begin twisting the shears to tighten the tourniquet until bleeding stops.
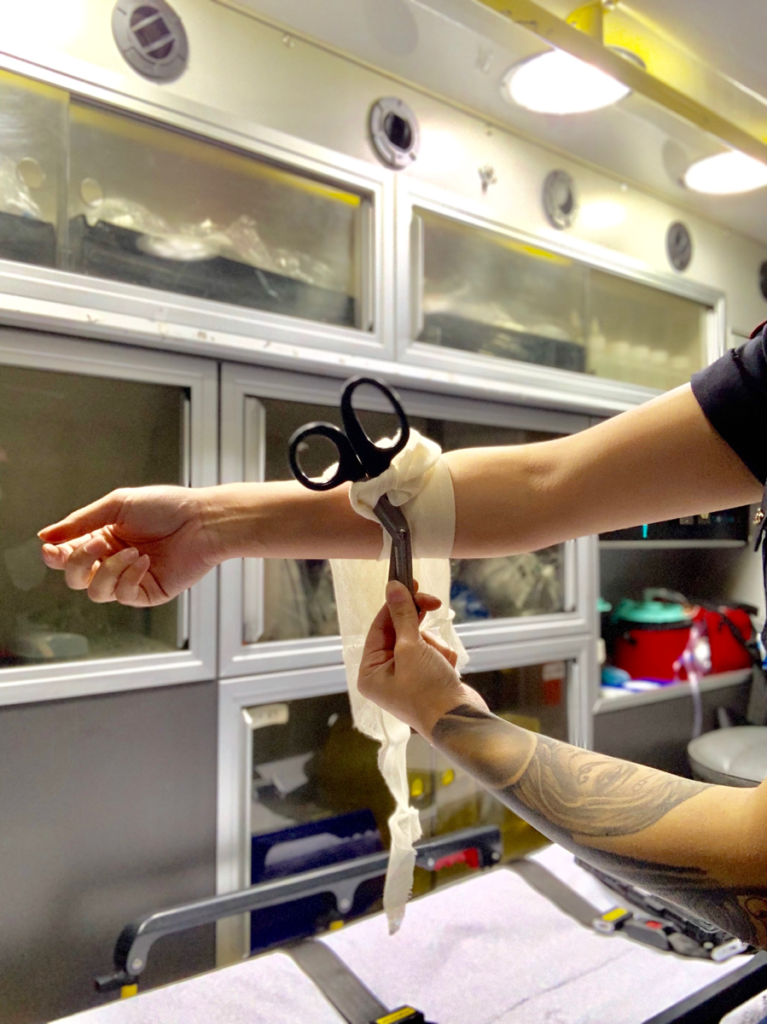
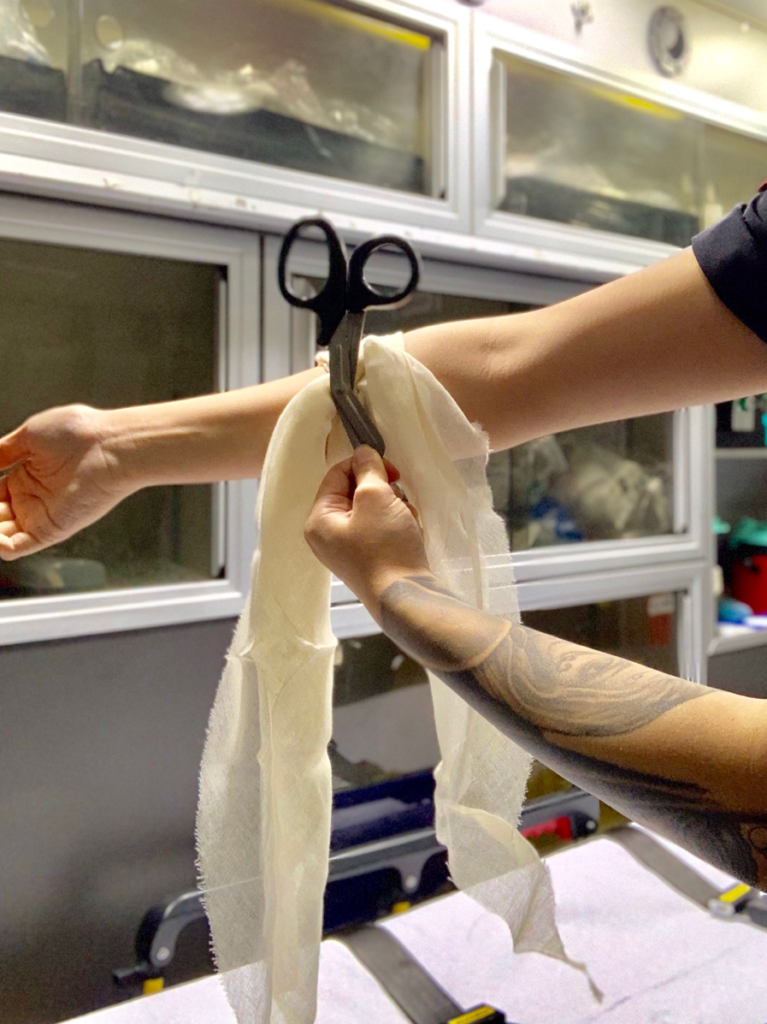
Finally, once you’ve tightened the tourniquet to the point where bleeding has stopped, you must secure the shears (windlass) in place to avoid it loosening. A simple means of accomplishing this is to use commonly found rolled gauze and just wrap around the extremity, capturing the handles of the trauma shears underneath the gauze, thereby preventing any rotation or slippage.